
If you’re a prepper, you know that one of the most important things you can do is have a reliable food source for survival. And what better way to ensure a steady supply of food than to grow your own? In this blog post, we’ll walk you through the process of going from prepper seeds to harvest. We’ll cover everything from choosing the right seeds to harvesting and storing your bounty. So let’s get started!

Choosing the Right Prepper Seeds
The first step in growing your own food is to choose the right seeds. This may seem like a daunting task, but don’t worry—we’re here to help! When choosing seeds for your prepper garden, you should keep three things in mind: climate, soil type, and water availability. Let’s take a closer look at each of these factors.
Climate
One of the most important things to consider when choosing seeds is the climate in which you live. After all, you don’t want to waste your time and money on seeds that won’t grow in your area! Therefore, make sure to choose seeds that are well-suited for the climate in which you live. For example, if you live in an area with hot summers and cold winters, choose seeds that can tolerate extreme heat and cold.
Soil Type
Another vital factor to consider when choosing seeds is the type of soil in which you’ll be growing your plants. Different plants prefer different soil types, so choosing seeds that will do well in your soil type is important. For example, choose seeds that don’t require rich, loamy soil if you have sandy soil.

Water Availability
The third factor to consider when choosing seeds is water availability. Make sure to choose drought-resistant seeds if you live in an area with limited water resources. Alternatively, choose seeds that prefer wet conditions if you live in an area with ample rainfall.
Preparing the Soil
Once you’ve chosen the right seeds, it’s time to prepare the soil. The key is ensuring your soil has all the necessary nutrients and minerals for optimal plant growth. This means ensuring your soil is free of weeds, pests, and other debris. It also means adding organic matter such as compost or manure. In addition, you may need to adjust the pH level of your soil to ensure your plants receive the proper nutrients.

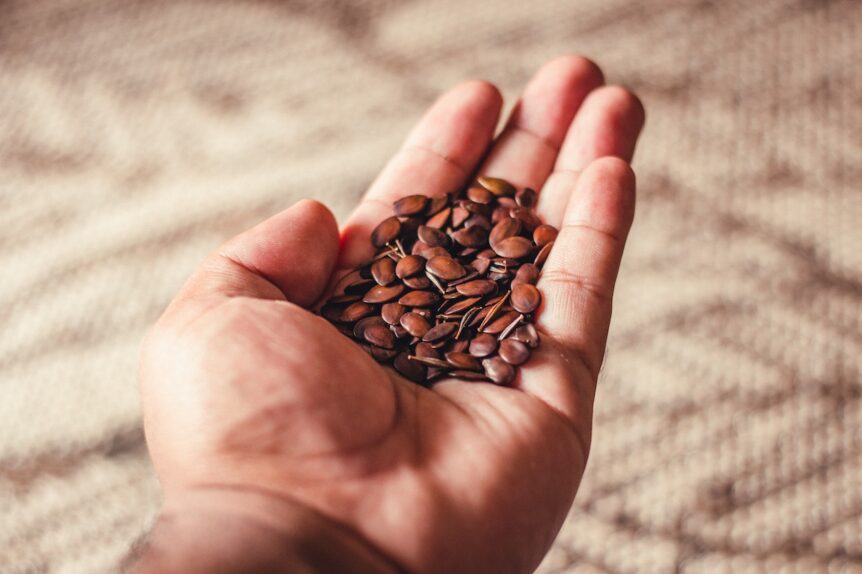
Where to get seeds?
When you have a green thumb, the world is your oyster! Growing plants from seeds gives us the freedom to choose the exact type of fruits and veggies we want. It’s almost like having a mini-farm. But figuring out where to get seeds in the first place can be tricky. Your best bet is to explore local hardware stores, gardening centers, or even an online seed retailer for finding seed kits, seed packets, and seed vaults. Some online retailers even offer heirloom seeds—genetic lines handed down through generations of growers—so it may be worth checking those out too! Survival seeds you’ll want to look for are herb seeds, vegetable seeds, open pollinated seeds, and perhaps hybrid seeds.
Another great resource is your local farmers’ market – many offer high-quality vegetable and fruit varieties from small farms you likely wouldn’t find anywhere else. Who knows, that might even inspire you to start rural shopping yourself!


Planting the Seeds
Once the soil is prepared, it is time to plant your seeds.
Plant at the right time
Planning when to plant your survival garden seeds can be one of the most important parts of gardening. Too early, and you risk them not germinating in the cold; too late, and they won’t have enough time to mature before it gets too chilly. Luckily, you can take a few key steps to ensure that feeding your garden is as hassle-free as possible.
First, research the growing cycle of each type of seed you will plant. For example, some plants may need as long as five months to grow fully, so if you plan on planting them in the summertime, they must be started much earlier inside or in spring outdoors. It’s also worth considering how patient you are: some plants can bear fruits within ten days, whereas others could take up to two months! So pick your seed wisely – patience pays off when it comes to gardening!

Plant at the correct depth
Planting your survival seeds at the correct depth can be daunting, especially if you’re new to gardening. The savvy gardener knows that not all seed types are created equal regarding proper planting. Smaller seeds like lettuce can be planted shallowly and lightly covered with soil. But larger seeds, like beans and corn, need deeper treatment for the best results. Soil density can also affect how deep you should go – one part of your garden may be compacted differently from another area and require different depths. If you find yourself in doubt, take the safe route and give it an extra inch – even a little soil goes a long way! With these few tips, you’ll have perfect planting conditions in no time.
Space the seeds
Planting is one of the most rewarding parts of gardening–unless you don’t space your seeds properly. For vegetables that require a deep root system, such as carrots, it’s essential to leave at least 3-4 inches between each seed, so they don’t compete for water, sunlight, and nutrients. If you overcrowd your plants early in the season, you could be looking at a frustrating weeding job come harvest time. On the other hand, smaller seeded plants can often be sprinkled into their designated spot with no thought to spacing. Think of lettuce: sprinkle three or four times over the prepared bed, and you’re done! So remember: for big seeds, leave some breathing room; for tiny seeds, give them a party!

Water the seeds
After planting your seeds, you may feel a lot of excitement and anticipation, but don’t forget to water them! Giving your seeds enough water is essential to getting them off to a great start. Make sure you don’t overdo it, though – it’s essential not to let the soil get too wet and become waterlogged, or your seedlings may not make it out of the ground. You want to keep the soil moist but not soaked. It may require some care and attention at first – like regularly checking if the topsoil is dry or if there is a need for some extra moisture. But eventually, with all of your hard work and TLC, you could be rewarded with beautiful blooms!
Caring for the Seedlings
As exciting as it is to plant those tiny little seeds, your job isn’t over the moment they go into the ground. Now the hard work starts – providing your seedlings with optimal care and conditions so they can develop into strong plants. You’ll need to give them ample light by setting them up in a nice bright spot or using special grow lights. At the same time, you want to keep the soil slightly moist but not waterlogged, as that could harm your beloved seedlings. And, lastly, don’t forget to protect them from pesky pests and diseases that may hinder their success! Whether you choose natural controls like companion planting or chemical ones, ensure your seedlings have all the protection they deserve!

Caring for Your Plants
Water your plants regularly, taking into account the individual requirements of each type of plant.
Fertilize your plants with a balanced fertilizer to ensure they get the necessary nutrients.
Mulch your plants with a layer of organic matter, such as straw or grass clippings, to help retain moisture in the soil and discourage weeds.
These are just a few things to consider when starting your home garden. With some planning and care, you can grow healthy plants that will provide fresh fruits, vegetables, and herbs for years to come!
Harvesting Your Bounty
Once your plants have grown and produced fruit or vegetables, it’s time to harvest your bounty! The best time to harvest most fruits and vegetables is in the morning after the dew has evaporated but before the day’s heat sets in. This will help ensure that your fruits and vegetables are as fresh as possible when you eat them or preserve them for later use.

Storing Your Food Supply
Once you’ve harvested your fruits and vegetables, it’s time to store them so they’ll last as long as possible. If you plan on eating them within a few days, they can be stored in a cool, dark place like a pantry or root cellar. However, if you want them to last longer, you’ll need to preserve them by canning or freezing them.
Prepper Seeds Conclusion
We hope this blog post has been helpful as you move from prepper seeds to harvest! Remember to choose the right seeds for your climate, soil type, and water availability; harvest your fruits and vegetables early in the day; and store them properly so they’ll last as long as possible. With these tips, you’ll be well on your way to having a bountiful supply of fresh food for yourself and your family—no matter what happens!
FAQ
Prepper seeds are seeds that are stored for emergency use in case of a natural disaster, such as a hurricane or drought.
Seeds are important because they provide the basis for the majority of food production, help to ensure food security, and enable a greater variety of crops to be grown.
For best results, store seeds in an airtight container in a cool and dry location. Make sure to label each container with the variety and the storage date.
Seeds can last anywhere from a few months to several years, depending on the type of seed and how it is stored.
The most popular seeds are heirloom vegetable seeds, which are non-GMO and can be used to grow various vegetables and fruits. Popular varieties include beans, spinach, carrots, corn, and herbs such as sage, dill, oregano, thyme, parsley, cilantro, and basil.
Some common mistakes when prepping with seeds include not properly storing seeds for long-term use, failing to rotate seed stock, or not having a diverse enough variety of seeds.