Encrypting your entire system where your operating system resides and boots is the safest and most secure, as it encrypts ALL files. Even files within the operating system you wouldn’t know held sensitive information. When you encrypt your entire system drive, every time you boot your computer it will ask for your password to decrypt and boot your system. Because you can’t paste your recommended 20+ random character password at boot up, it will seem like a big pain to have to type it all out, but the trade off for the security of your files is well worth it.
How to Encrypt Your Entire System Drive
Here are the steps to encrypt your whole system drive using my favourite encryption software, VeraCrypt. Following these steps you use at your own risk, because if you mess something up, you might not be able to get into your system and will have to reinstall your operation system from scratch losing anything you might have had. Backup anything important to you prior to starting this.
These steps will be for Windows as I am using Windows 10. I am not sure how this may vary to other operating systems.
First, download and install Veracrypt. Open it and it should look similar to this:
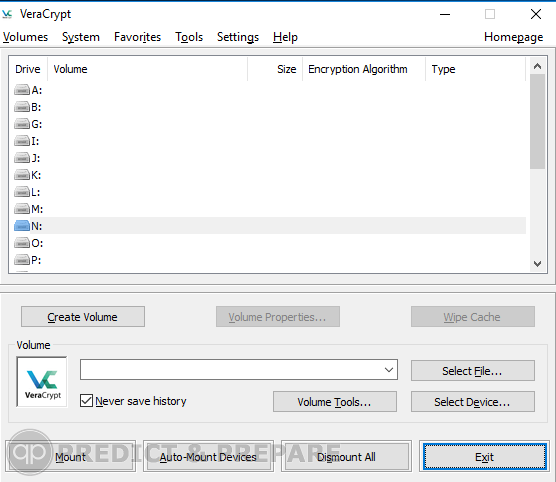
Click “Create Volume”
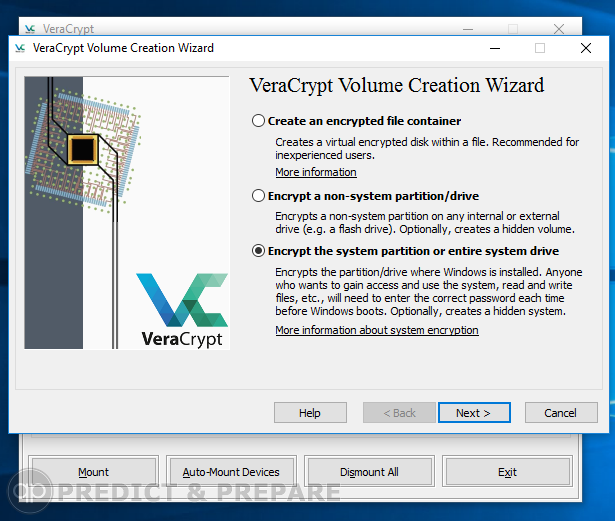
Select “Encrypt the system partition or entire system drive”, and click “Next”
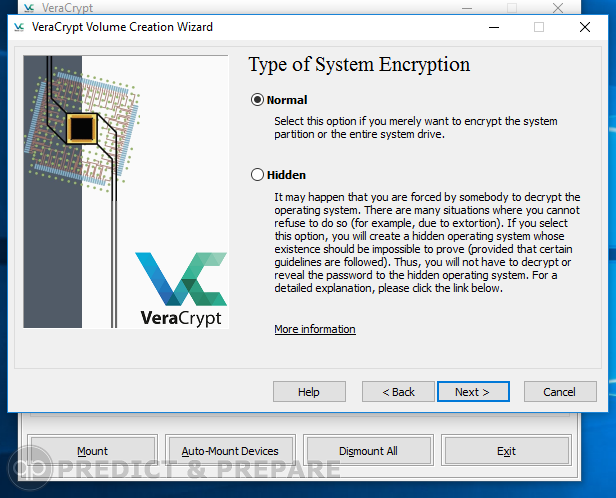
For this basic lesson, we will select “Normal”
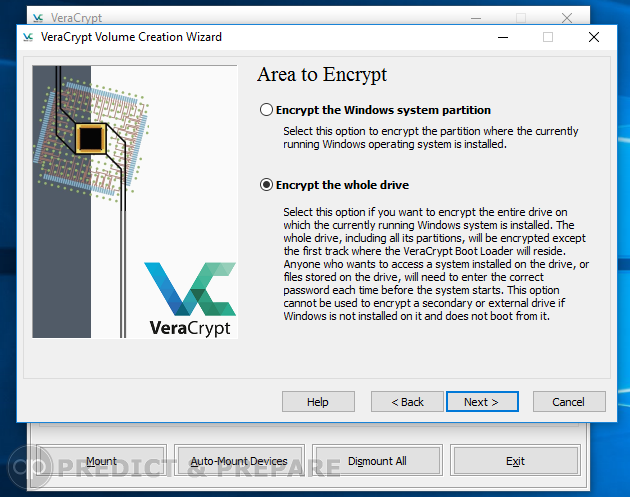
We want to encrypt the whole drive, not just the Windows system partition, so select “Encrypt the whole drive”, and click “Next”

If you don’t know if any of your programs access this hidden “Host Protected Area”, to be safe select “No”, and click “Next”
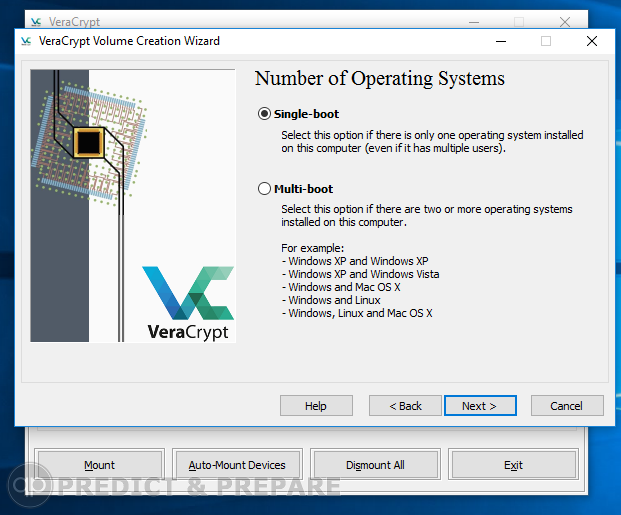
Here you would select which ever you have, one operating system = “Single-boot”, or more than one operating system you can boot into = “Multi-boot”. I currently only have Windows 10 installed so I would select Single-boot. Make your selection and click “Next”
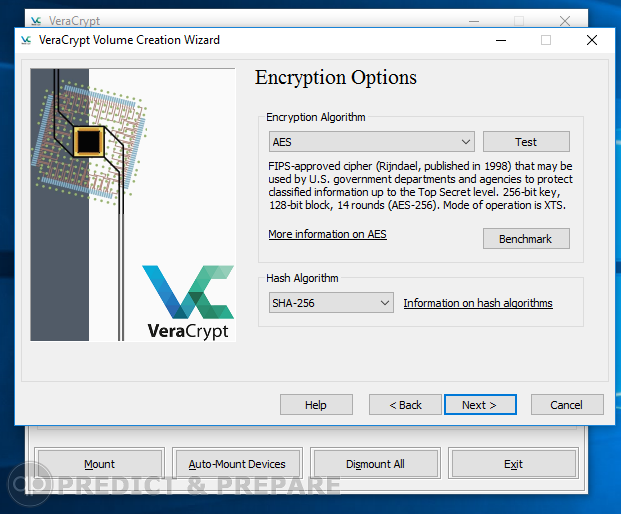
The pre-populated fields on this screen are sufficient, click “Next”
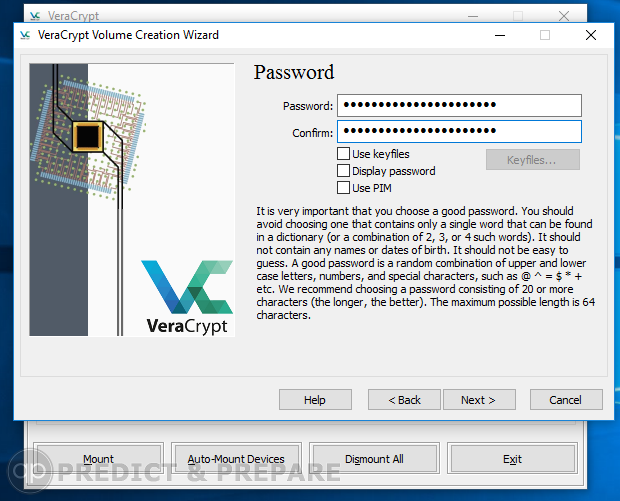
Time to enter a password. I would recommend doing what they suggest, using over 20 characters (64 is max) including upper and lower case letters, numbers, special characters (ie. @#&$!) with it all being random. They don’t recommend dictionary words as these can be brute forced easier. This is the password you will enter every time you boot your computer.

This may seem strange but now you want to move your mouse as much as you can within the “Collecting Random Data” window. The longer you do, the stronger your encryption keys’ cryptographic strength will be. Once you think that you’ve moved it around enough, click “Next”

You will get the “Keys Generated” screen, click “Next”
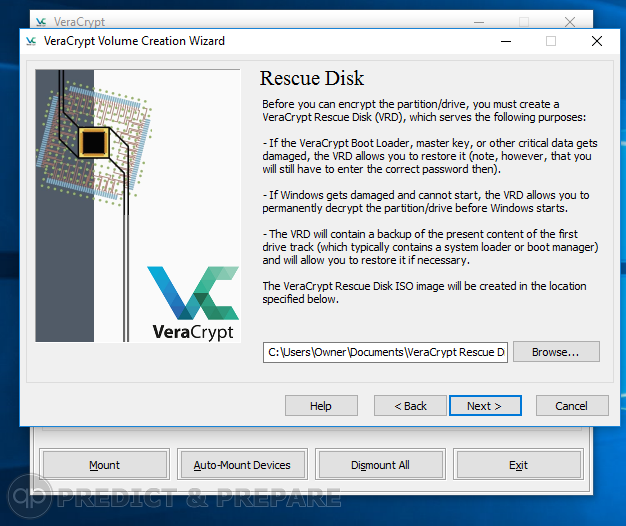
It will now prompt you to create a Rescue Disk. This is for that chance that something gets damaged and you can’t normally log into your computer. Click “Browse…” and select a location to store the Rescue Disk image. Then click “Next”.
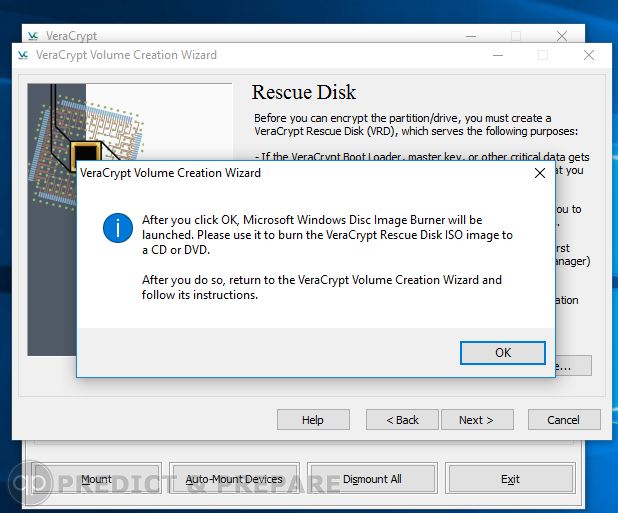
It now wants you to burn the Rescue Disk image to a CD or DVD. This is good to have on separate media, because if the boot loader or your master key becomes corrupt, you can’t go to the image file you saved on your hard drive as it is still encrypted. The image itself is not very big so I used a CD.
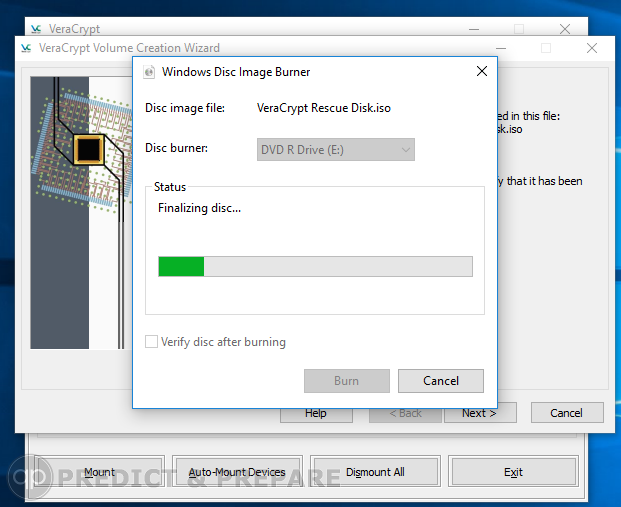
Put in your blank CD or DVD and click “OK”
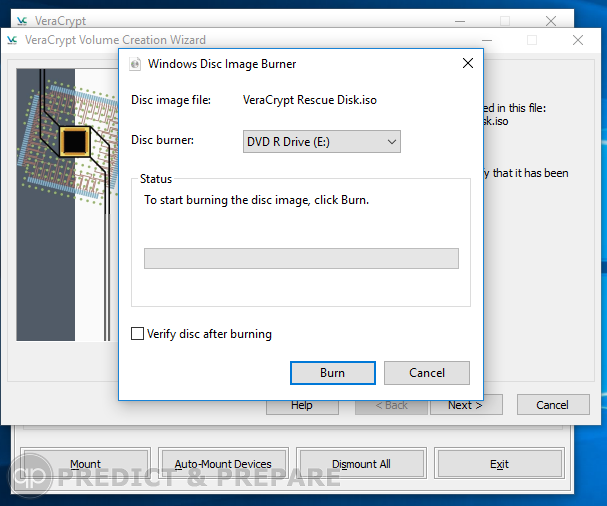
Click “Burn” and wait until it is finished
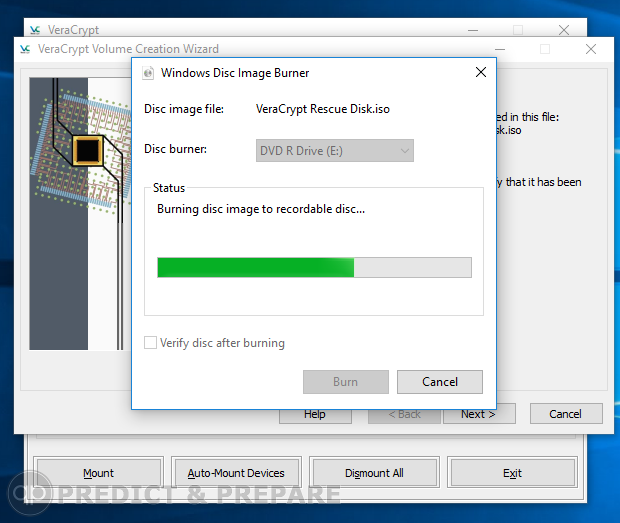
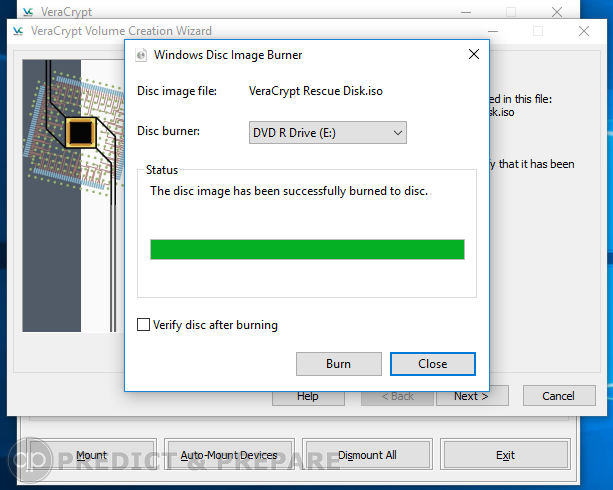
Once it says it has successfully burned to disc, click “Close” (but leave disc in)
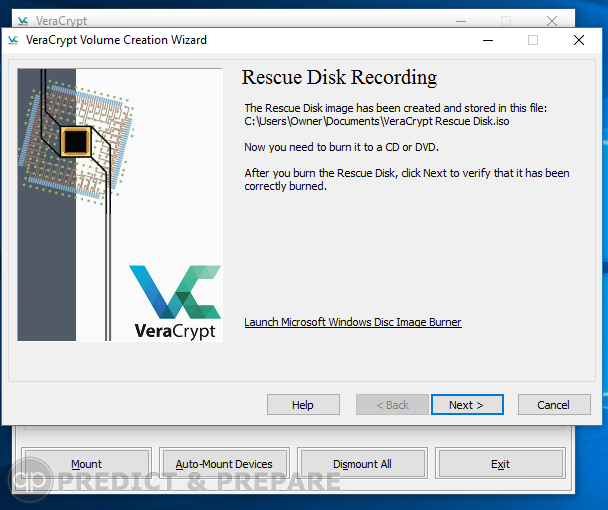
Now you will be at the “Rescue Disk Recording” window. You leave the disc in because here when you click next it will verify the rescue disk you created is good. Click “Next”
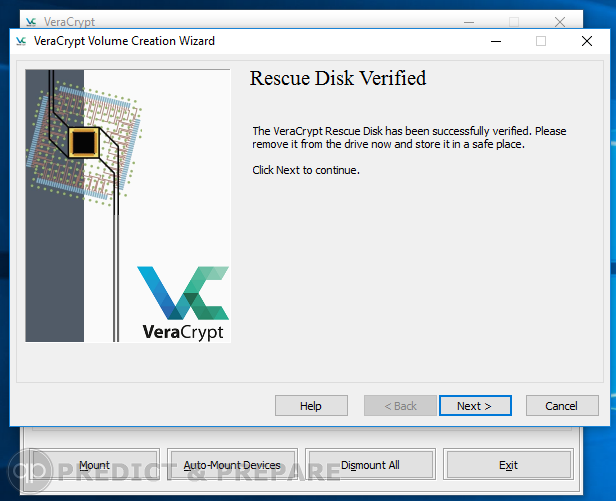
Rescue Disk Verified!! Click “Next”
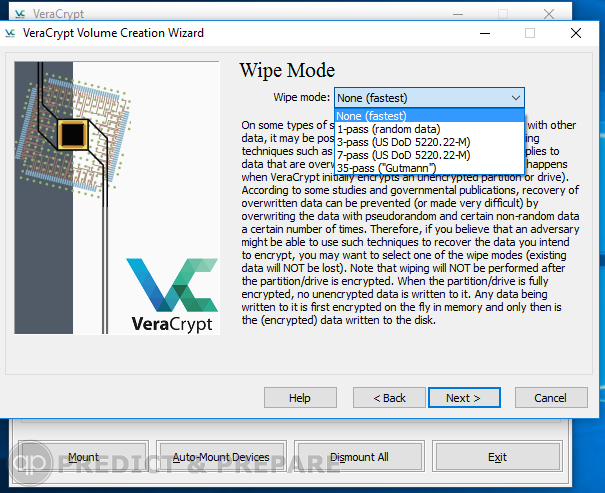
If you have deleted sensitive files and believe someone can retrieve that deleted data, then select any option other than “None”. For this demo, I will select “None”. Make your selection and click “Next”
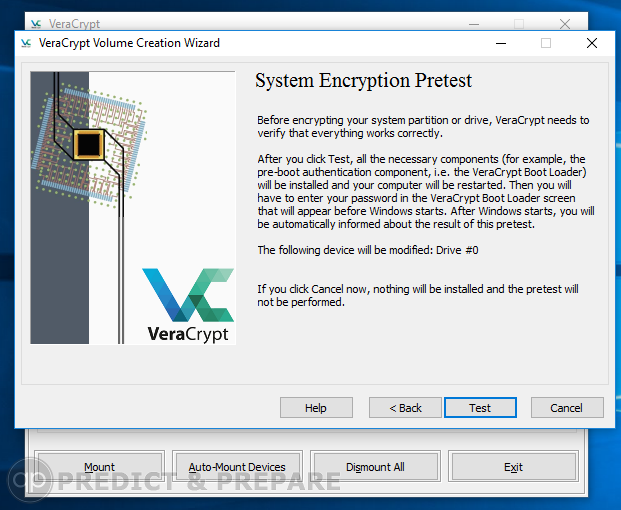
Here it wants to test to verify everything works correctly. Click “Test”
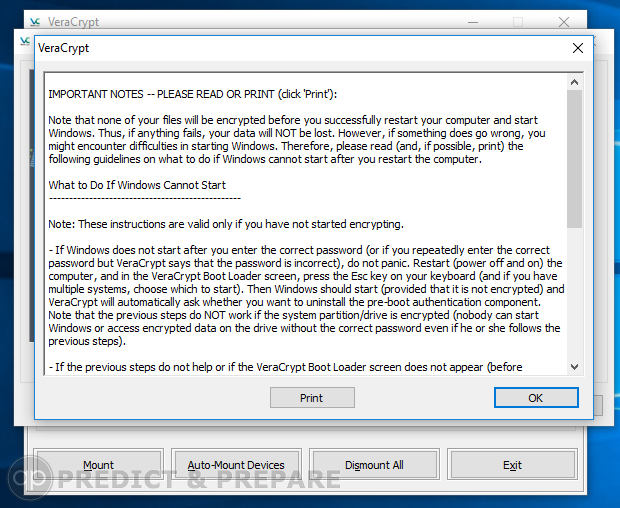
A screen with notes will appear detailing what you should do if Windows doesn’t start properly after this. I would recommend printing this off and click “OK”
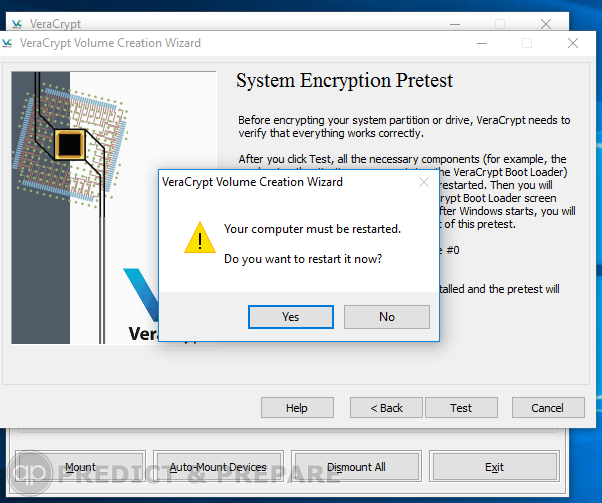
It will now install components (ie. Veracrypt boot loader) and restart your computer. When ready, click “Yes”
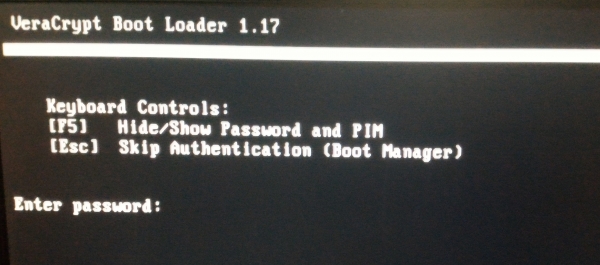
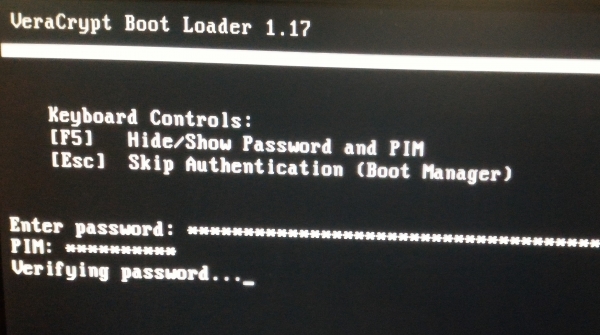
You will be welcomed with this screen. Enter your super long and secure password here and press Enter. Leave where it says PIM blank and press Enter. It will verify it is correct and boot your operating system.
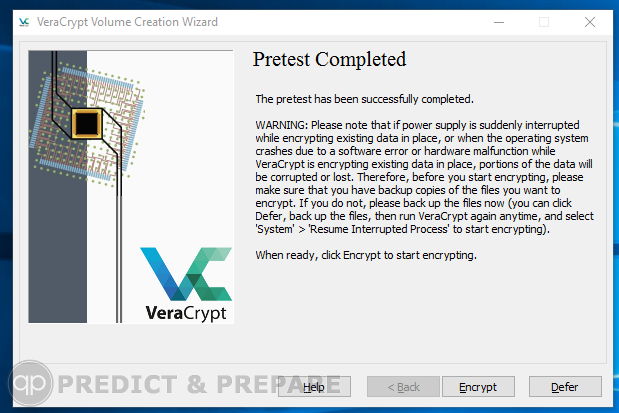
If all went well you will be presented with a “Pretest Completed” screen saying it has been successful. Now it will start to encrypt your system after you click “Encrypt”. Take a deep breath and click “Encrypt”
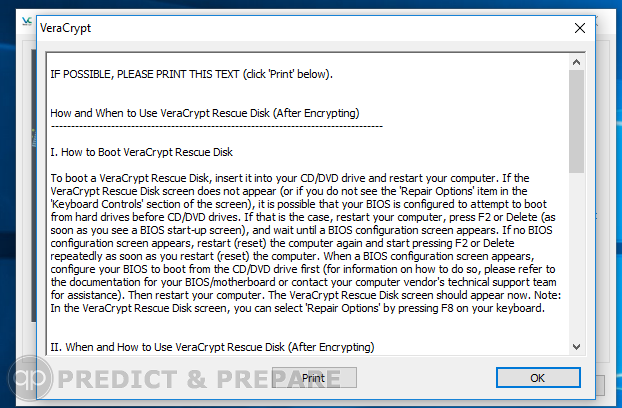
You will be shown some more notes (ie. How and When to Use Veracrypt Rescue Disk after encrypting). Read it, print it so you have it and click “OK”
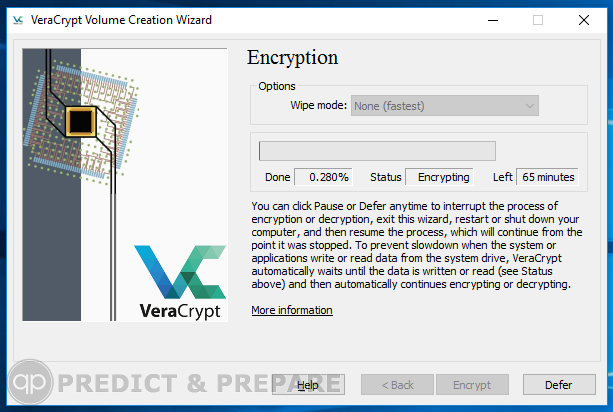
It is now encrypting your system. There will be an estimated time left to encrypt on top right. Depending on the size of your drive and what wipe mode you selected, your time will vary drastically.
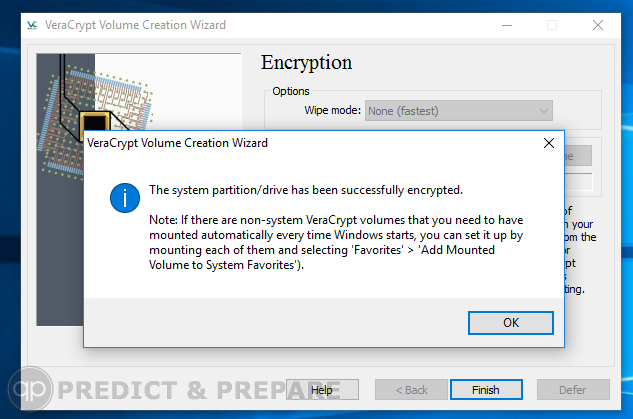
Once done, you should be greeted with a “The system partition/drive has been successfully encrypted”. Click “OK”
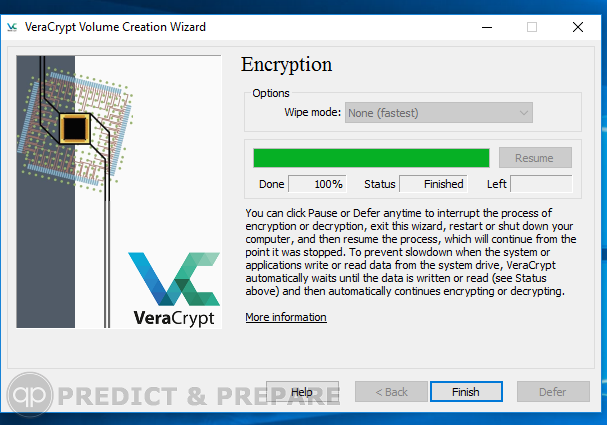
Click “Finish” and YOU’RE DONE!! That wasn’t too bad, was it??
You now have an encrypted system drive!! You can now feel a little safer knowing your whole system drive is encrypted including your sensitive files when your computer is off.
How it works is, your system is encrypted only when your computer is turned off. As soon as you enter your Veracrypt password when you boot up your computer, everything is decrypted. So if you stay logged into your computer and walk away, guess what, anyone has access to your decrypted files. If you always leave your computer on, this is where encrypting sensitive files in an encrypted file container might be beneficial.
Until next time!